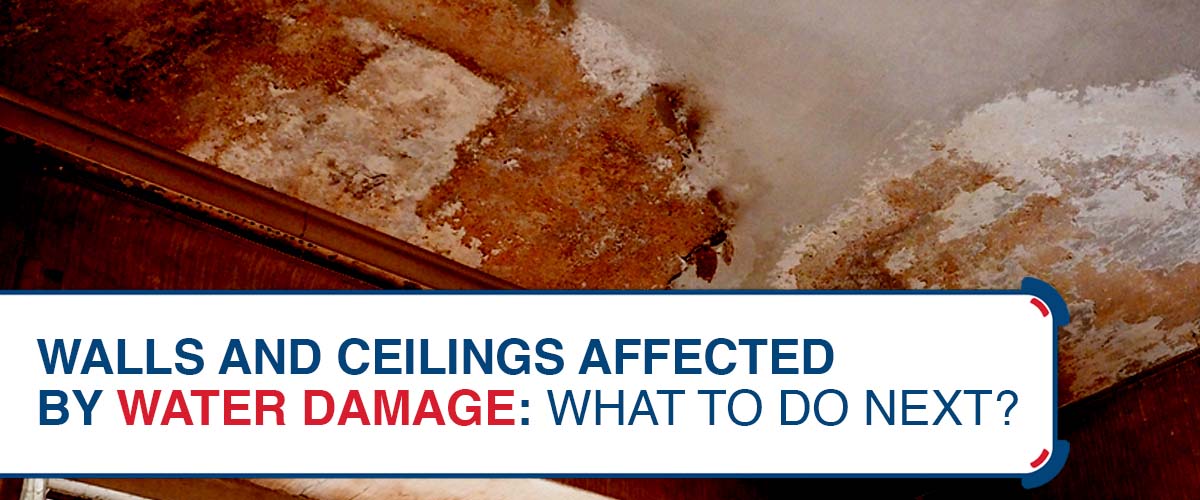
Walls and Ceilings Affected by Water Damage: What to Do Next?
Have you ever noticed a dark spot on your wall or ceiling and wondered how deep the problem might go? Water damage on walls and ceilings isn’t merely an aesthetic problem. It’s a silent warning from your home. These seemingly minor damages can become severe structural and health issues if left unchecked. Let us dive deeper to recognize if your walls and ceilings are affected by water damage.
What Causes Damage on Walls and Ceilings?
Not all water damage comes from obvious leaks or floods. Everyday activities (e.g., cooking or showering) can increase room humidity, causing condensation on walls and ceilings. Sometimes, even a malfunctioning appliance, such as a dishwasher, is the culprit.
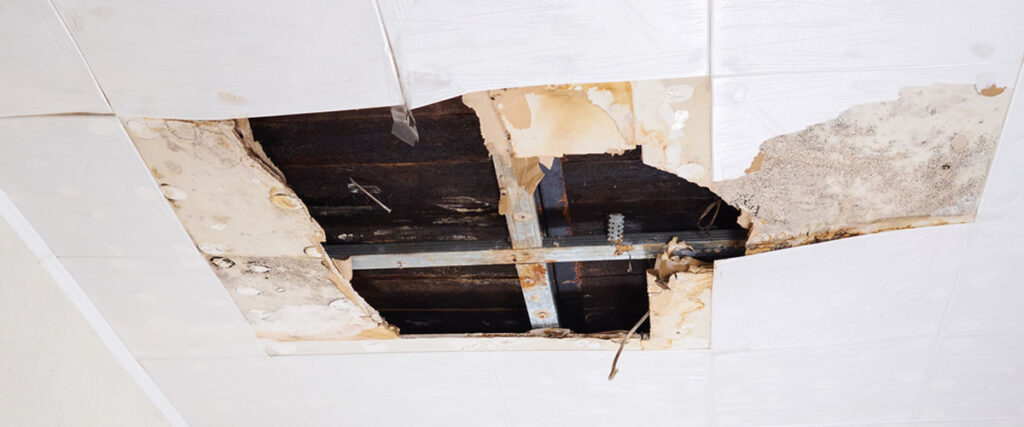
If you see water spots, it’s a hint that the drywall is soaking up too much moisture. Over time, this can weaken the drywall and, in severe cases, require replacement. Additionally, continuous dampness can cause wood to rot, which might lead to more significant structural concerns.
What are Signs of Water Damage on Walls and Ceilings?
Water damage isn’t always immediately apparent, but some signs can give it away. Being aware of these can save you from more significant problems and costly repairs. Here are some common indicators to watch out for:
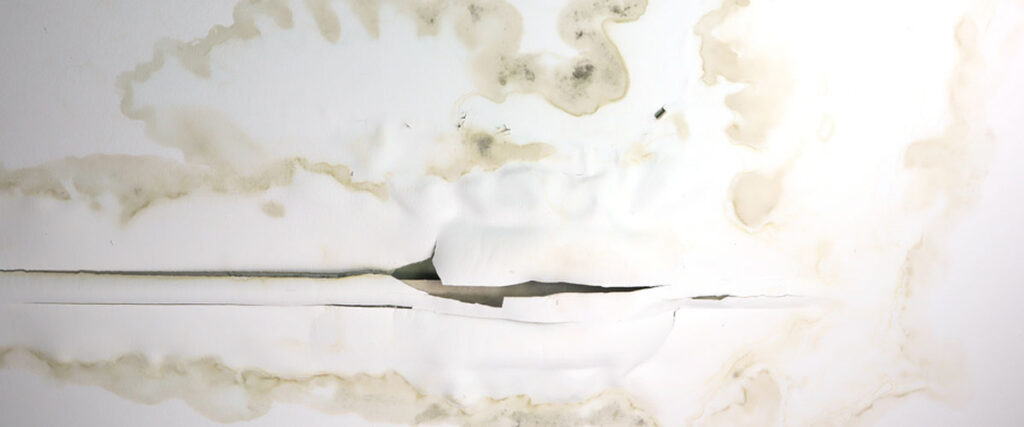
- Paint that’s peeling, flaking, or bubbling up
- Walls that appear warped or distorted
- Mold spots or a persistent musty smell
- Discoloration (brown patches) on your ceilings and walls
- Patches that feel damp to the touch
- Foggy windows or walls from built-up condensation
- Hearing drips or noticing a spike in your water bill
If any of these signs pop up, it might be time to consult water damage contractors in Kansas City to assess the extent of the damage.

Drying Out: The Crucial First Step
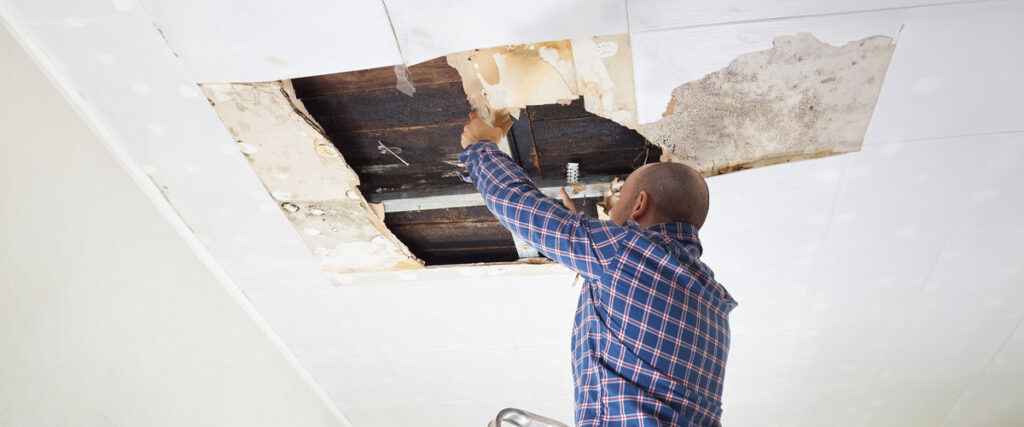
Acting quickly is the key to tackling water damage effectively. While it’s often best to call in professionals to ensure your walls are thoroughly dried and safe for further repair or redecorating, you can take some steps on your own if the damage seems minor:
- First, halt the water source, then clear the affected wall of items like paintings.
- Strip off moldings, baseboards, and any wet wallpaper.
- Boost drying by opening windows and doors, but be alert to changing outdoor conditions and adjust accordingly.
- Deploy fans to circulate air and use dehumidifiers to pull moisture from the air and walls. For high moisture levels, consider commercial dehumidifiers, which work more efficiently.
Remember, thoroughly drying the area lays the foundation for the next stages of repair and restoration.
How Do You Fix A Water Damaged Wall and Ceiling?
Whether it’s a result of a leaky roof or faulty plumbing, understanding how to address water damage on walls and ceilings is crucial. Here, we provide a step-by-step guide to help you navigate this challenge and restore parts of your home.
- Locate the Source: First, find and address the root cause of the water damage, be it leaks from pipes, windows, roofs, or other sources. Ensuring the source of moisture is dealt with will prevent further damage.
- Safety Measures: Turn off electricity in the affected area and use protective gear, especially if there’s potential for mold exposure.
- Assess the Extent: Inspect the wall for signs of mold, peeling paint, warping, or discoloration. Depending on the material of your wall (drywall, plaster, wood), the approach may differ.
- Dry the Area: Ventilate the room by opening windows and using fans. As mentioned above, dehumidifiers can help reduce moisture, especially in more humid climates.
- Remove Damaged Material: For severe damage, you might need to cut out the affected portion of the wall. Remove beyond the visibly damaged area to ensure all wet materials are gone. Pay particular attention to the materials of your walls. Wallboards can act like sponges when wet, and if they’ve been drenched by floodwater, consider removing them.
- Clean and Disinfect: If mold is present, clean the area with a mold-killing solution.
- Repair: Patch the wall using appropriate materials. For drywall, this often means placing a new piece, taping, mudding, and sanding to ensure a smooth finish.
- Repaint: Repaint the area to match the wall once your repair is dry. Ensure you use a primer first, especially if stains from the water damage are visible.
- Monitor: After repairs, monitor the area for any new signs of leaks or damage. Regular checks can prevent future issues.
If the damage is extensive, seeking professional guidance and help from water damage repair services in Kansas City is recommended.

Final Thoughts: Protecting Your Home’s Integrity
In conclusion, it is essential to recognize that water damage. If left unattended, it can have long-lasting effects on your home’s structural and aesthetic qualities – specifically your walls and ceilings! The sooner you can identify and address the issue, the better off you and your property will be. As you prioritize the health and safety of your home, remember to seek professional guidance to ensure the best outcome.
References:
- National Ag Safety Database (n.d.). Flood-damaged walls, ceilings, and floors: Removing moisture. https://nasdonline.org/2028/d001496/flood-damaged-walls-ceilings-and-floors-removing-moisture.html